Sunken Fire Pits for Infinity Pools: Design and Technical Guide
I have spent my career engineering backyard retreats, and building a dry-seated fire pit into a pool's footprint is the most rewarding way to marry fire and water.
Planning the Structural Shell for Dual Environments
When I first started building custom aquatic features, the idea of putting a dry seating area in the middle of a swimming pool seemed like an engineering contradiction. Over the years, I have learned that the success of these features depends entirely on the structural integrity of the initial shell. You are essentially building two separate structures that share a common foundation. The pool shell must be thick enough to withstand the lateral pressure of the water, while the interior 'island' for the fire pit must be perfectly sealed to prevent even the slightest seepage. I always recommend a reinforced concrete approach with a minimum thickness of 8 in for the interior walls separating the dry zone from the pool water. We use a heavy rebar schedule to ensure that the two structures do not settle at different rates, which would cause cracking in the waterproof membrane. It is not just about keeping water in the pool; it is about keeping the weight of the water from crushing or shifting the dry seating area. Before you pour a single yard of concrete, you must have a clear vision of the final elevations, ensuring the floor of the seating area sits at least 36 in to 42 in below the water line for a truly immersive experience. [The Allure of Sunken Firepits | Design and Drainage Tips](https://southernpooldesigns.com/sunken-firepits-design-drainage/) provides an excellent overview of how these design choices impact the overall aesthetic and utility of your outdoor space. In my experience, skipping the geotechnical survey is the biggest mistake a homeowner can make. You need to know that the soil beneath the pool can handle the concentrated load of the sunken pit without shifting over time.
From the TopShelf kitchen
Here are a few recipes and other recommendations from the TopShelf team.
 Continue exploring
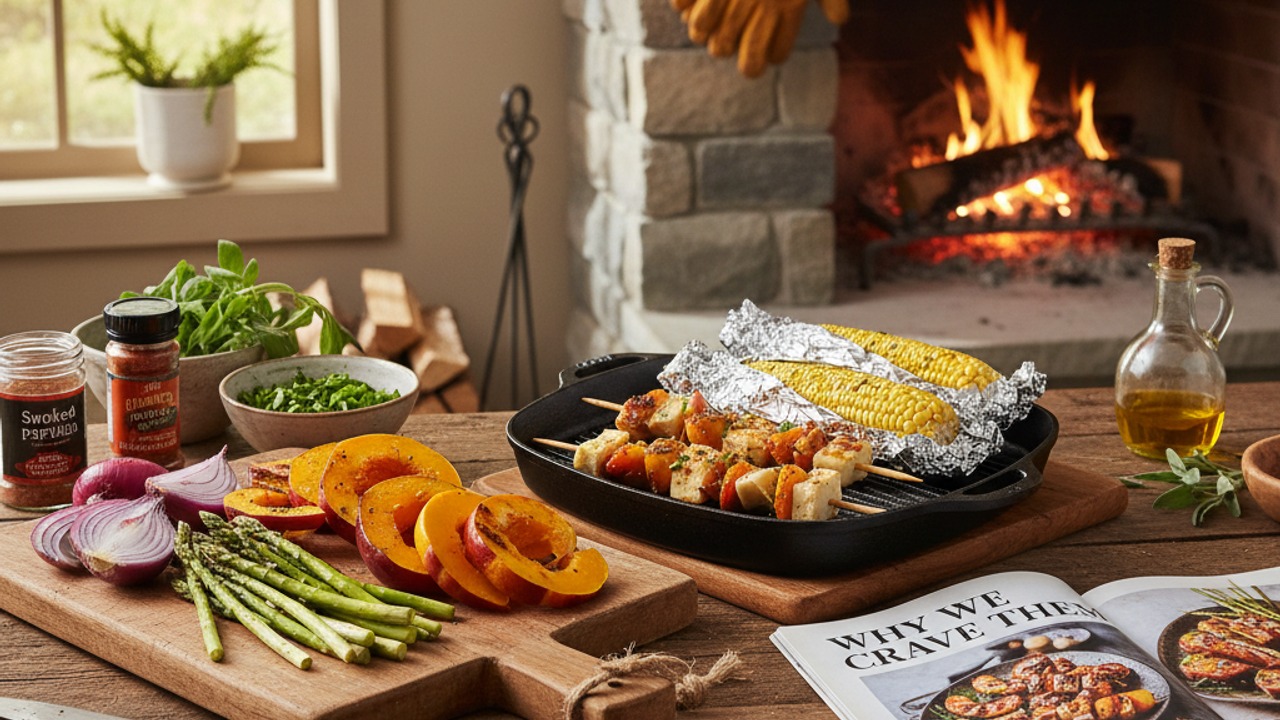
Why We Crave Them: The Science Behind Seasonal Favorites and How to Grill or Campfire‑Adapt Them
Explore why certain dishes become seasonal staples — from culture and chemistry to ingredient cycles — and learn dependable grill and campfire techniques to recreate those seasonal sensations outdoors. This guide pairs sensory science with practical timing, equipment tips, and 12 archetypal recipes reimagined for fire-based cooking.
Read more →
Continue exploring
Why We Crave Them: The Science Behind Seasonal Favorites and How to Grill or Campfire‑Adapt Them
Explore why certain dishes become seasonal staples — from culture and chemistry to ingredient cycles — and learn dependable grill and campfire techniques to recreate those seasonal sensations outdoors. This guide pairs sensory science with practical timing, equipment tips, and 12 archetypal recipes reimagined for fire-based cooking.
Read more →
 From the TopShelf kitchen
Charred-Citrus Smoked Rye Old Fashioned for the Grill
A late-summer, grill-forward riff on a Smoked Old Fashioned: a demerara-citrus syrup made from charred orange and grapefruit fuels a rye Old Fashioned, finished with a brief wood-smoke infusion and a blistered grilled orange peel. Designed for Labour Day evenings, it pairs beautifully with steaks and burgers and brings bright charred citrus to a classic smoky cocktail.
View the recipe →
From the TopShelf kitchen
Charred-Citrus Smoked Rye Old Fashioned for the Grill
A late-summer, grill-forward riff on a Smoked Old Fashioned: a demerara-citrus syrup made from charred orange and grapefruit fuels a rye Old Fashioned, finished with a brief wood-smoke infusion and a blistered grilled orange peel. Designed for Labour Day evenings, it pairs beautifully with steaks and burgers and brings bright charred citrus to a classic smoky cocktail.
View the recipe →

Mastering Drainage and Moisture Control
The most critical technical hurdle I face in these builds is drainage. If you build a hole in the middle of a pool, nature wants to fill it—either with splashing pool water or heavy rainfall. A sunken fire pit without a redundant drainage system is simply a bathtub waiting to happen. I have seen too many DIY attempts fail because they relied on a single gravity drain that eventually clogged with debris or couldn't handle a summer downpour. I insist on a multi-tiered approach to moisture control. This includes a primary floor drain, a secondary overflow relief, and a dedicated sump pump system housed in a hidden vault nearby. The floor of the seating area should have a subtle 2 percent slope leading toward the drain to ensure no standing water remains after a storm. Additionally, a high-quality waterproof membrane must be applied to the exterior of the dry-pit walls before the pool tile or plaster is installed. - **Primary Floor Drain**: A high-capacity 4 in drain located at the lowest point of the seating area.
- **Sump Pump Vault**: A secondary mechanical lift system to move water out of the pit if gravity drainage is insufficient.
- **Waterproof Membrane**: A professional-grade liquid or sheet membrane applied to both sides of the concrete wall.
- **Ventilation Access**: Air gaps or decorative vents that allow moisture to evaporate from beneath the seating benches.
Fuel Supply and Safety Considerations
Integrating fire so close to water requires careful planning of the fuel delivery system. In my builds, I almost exclusively use natural gas or liquid propane piped directly into the pit. While wood-burning pits have a rustic charm, the ash and embers are a nightmare for pool filtration systems. By using a gas-fed system, I can control the flame height and ensure a clean burn that won't leave a film on the water surface. Safety is paramount when you are dealing with gas lines submerged or encased in concrete. I always use stainless steel or specialized flexible gas lines rated for underground and underwater burial. We also install an emergency shut-off valve at least 10 ft away from the pit, easily accessible to anyone on the pool deck. This ensures that in the event of a leak or a flame-out, the fuel source can be cut immediately without anyone having to reach into the pit. For more details on how to safely manage these systems, [Mastering the Art of Integrating Fire Pits in Pool Areas for Ultimate Outdoor Enjoyment - Mission Pools](https://www.missionpools.com/glossary/mastering-the-art-of-integrating-fire-pits-in-pool-areas-for-ultimate-outdoor-enjoyment/) offers a deep dive into the mechanical requirements. I also advise clients to include electronic ignition systems with flame sensors. If the wind blows the flame out, the sensor detects the drop in temperature and automatically shuts off the gas flow, preventing a dangerous buildup of gas in the sunken area.
Selecting Durable Materials for the Splash Zone
The materials you choose for the interior of the fire pit must be able to withstand two very different stressors: the high heat of the fire and the chemically treated humidity of the pool environment. I have seen standard stone crack from thermal shock and cheap tile peel away due to the constant presence of moisture. My preferred approach is to use high-density natural stones like basalt or granite for the seating surfaces, as they hold up well to both heat and the elements. Inside the fire pit itself, I always use fire-rated bricks and refractory mortar. This creates a thermal barrier that prevents the heat from reaching the structural concrete shell, which could otherwise lead to spalling or structural failure. For the walkway and steps leading into the pit, a non-slip finish is non-negotiable. Even though the area is dry, guests will be entering with wet feet from the pool deck, and a slick surface is a recipe for disaster. | Material Type | Pros | Cons |
| :--- | :--- | :--- |
| **Honed Basalt** | Extremely durable, heat resistant, sophisticated dark look | Can be expensive and heavy to install |
| **Porcelain Pavers** | Non-porous, slip-resistant, wide range of colors | Requires specialized thin-set for outdoor heat |
| **Poured Concrete** | Seamless look, customizable shapes, cost-effective | Prone to hairline cracks if not properly reinforced |
| **Travertine** | Naturally cool to the touch, classic aesthetic | Very porous; requires frequent sealing in pool areas |
Access and Inclusive Design
One aspect that often gets overlooked in the excitement of the design phase is how people will actually get in and out of the pit. I prefer to design these spaces with a clear, wide entry point that doesn't require guests to climb over the pool wall. A recessed staircase that descends from the pool deck into the heart of the pit is my go-to solution. It maintains the 'sunken' feel without compromising on safety or accessibility. I also recommend installing low-voltage LED strip lighting under the tread of each step. This provides a soft, atmospheric glow that highlights the path without detracting from the fire's ambiance. Lighting is a safety essential in a sunken area, especially at night when the depth change might not be obvious to a guest walking near the pool's edge. [The Magic of Sunken Fire Pits and Why Your Pool Needs One - California Pools](https://www.californiapools.com/blog/california-pools-blog/pool-types-features/the-magic-of-sunken-fire-pits-and-why-your-pool-/) explores how these features enhance the social flow of a backyard. When I design these, I aim for a seat height of 18 in, which is standard for comfort, and a backrest height of at least 12 in to provide adequate support. This ensures that once guests sit down, they feel completely tucked away from the rest of the world, surrounded by water but perfectly warm and dry.